External Hard Drive Shows 0 Bytes? Recovery Methods
A 0-byte reading can come from a bad connection, lost mount point, damaged file system, failed enclosure, or physical disk trouble. The safest sequence depends on where the correct capacity is still visible.
Stop writing to the external drive. Try a direct USB connection plus a known-good cable, then check whether Disk Management or Disk Utility shows the disk's real capacity. If it does, image the disk before scanning the image with recovery software.
Do not initialize, format, erase, repartition, or run repair tools yet. Those actions write to the disk. If the drive clicks, beeps, scrapes, or repeatedly disappears, power it off plus contact a recovery lab.
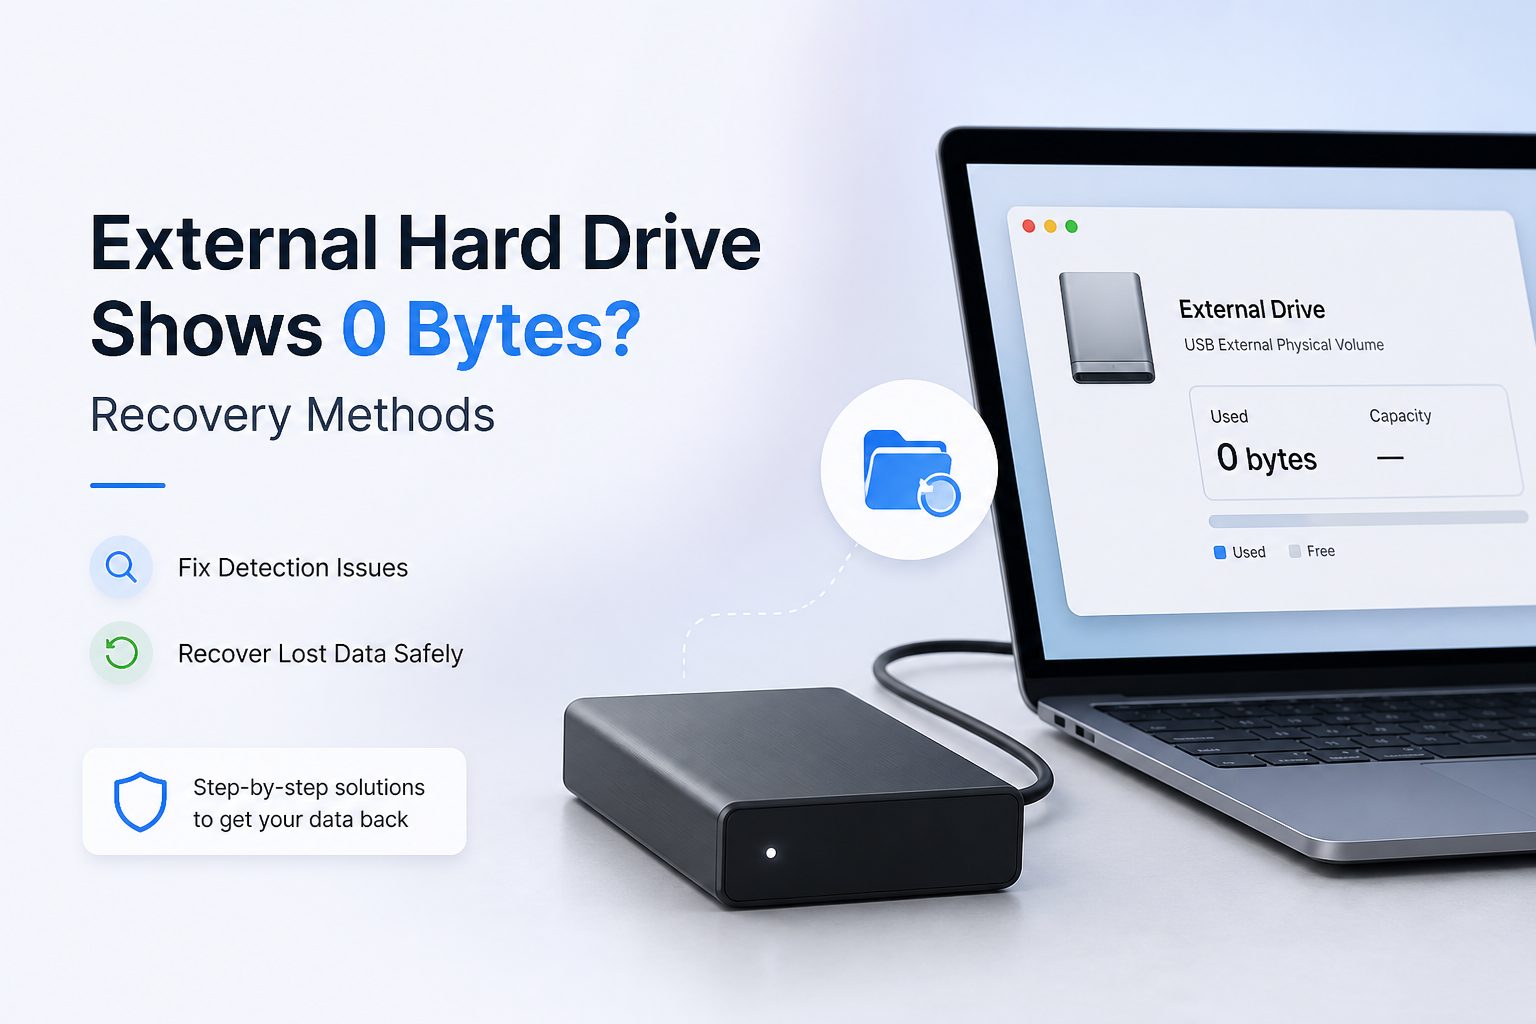
Image and Scan a 0-Byte External Drive → Disk Drill
Creates byte-to-byte disk images · Scans lost or damaged volumes · Previews recoverable files · Windows plus macOS
When Software Recovery Is Unsafe for a 0-Byte External Drive
Skip scans if the drive clicks, scrapes, beeps, smells burned, vanishes during reads, or never reports its real hardware capacity. Each power cycle may worsen a mechanical problem.
A different enclosure can sometimes expose a healthy SATA disk, but some portable drives use soldered USB boards or hardware encryption. Moving the disk blindly may make diagnosis harder, so leave enclosure work to a lab when the files are unique.
Which 0-Byte External Drive Recovery Method Fits Your Case?
Start with the least invasive option that matches what your computer can still detect.
| Method | Best for | Time | Success rate |
|---|---|---|---|
| 1. Stop Using the Drive, Then Check Its Connection TRY FIRST | Cable, port, hub, or power trouble | ~5 min | ● 85% |
| 2. Create an Image, Then Scan It With Disk Drill | RAW, lost, or unreadable volumes | ~30 min+ | ● 72% |
| 3. Restore the Drive Letter or Mount the Volume | Healthy partition missing from Finder or Explorer | ~5 min | ● 90% |
| 4. Repair the File System After Recovering Files | Stable disk with damaged volume metadata | ~10–60 min | ● 60% |
| 5. Send the Drive to a Recovery Lab | Mechanical or electronic failure | Several days | ● 65% |
Top 5 Recovery Methods for an External Hard Drive Showing 0 Bytes
01 Stop Using the Drive, Then Check Its Connection
Safest first move when the enclosure appears but reports zero capacity
~5 min
Stop Using the Drive, Then Check Its Connection
Safest first move when the enclosure appears but reports zero capacity
A loose USB plug, weak hub, bad cable, or underpowered enclosure can make a healthy disk appear as 0 bytes. Start with checks that do not write anything to the drive.
- Disconnect the external drive, then leave it unplugged for about 30 seconds.
- Connect it directly to the computer rather than through a USB hub, monitor, keyboard, or dock.
- Try a different USB cable plus another port. Use the enclosure's power adapter if it has one.
- Test the drive on one other computer, but cancel any request to initialize, erase, or format it.
- Listen for repeated clicks, beeps, scraping, or failed spin-up. Stop immediately if you hear them.

02 Create an Image, Then Scan It With Disk Drill
Best software route when the correct physical capacity is still visible
~30 min or more
Create an Image, Then Scan It With Disk Drill
Best software route when the correct physical capacity is still visible
Use this route if Disk Management or Disk Utility can still see the drive's real physical size, even though its volume reports 0 bytes, RAW, unallocated, or unreadable. Disk Drill can create a byte-to-byte image, scan storage, preview found files, then recover selected data to another device. (disk-drill.com)
- Install Disk Drill on the computer's internal disk or another healthy drive, never on the damaged external disk.
- Connect a separate healthy drive with enough free space for the image plus recovered files.
- Open Disk Drill, choose Byte-to-byte Backup, select the troubled disk, then save the image to the healthy destination.
- Load the completed image into Disk Drill, select it, then click Search for lost data.
- Filter the results by file type or date, then preview several important files to check whether they open correctly.
- Select the files you need, click Recover, then save them to a different physical drive.
03 Restore the Drive Letter or Mount the Volume
Useful when the partition looks healthy but File Explorer or Finder cannot open it
~5 min
Restore the Drive Letter or Mount the Volume
Useful when the partition looks healthy but File Explorer or Finder cannot open it
Sometimes the disk is readable at the system level, yet its volume has no Windows drive letter or remains unmounted on macOS. This fix is appropriate only when the partition shows its expected size plus a recognized file system.
- On Windows, right-click Start, open Disk Management, then locate the external disk by capacity.
- If its partition says Healthy but lacks a letter, right-click it, choose Change Drive Letter and Paths, then assign an unused letter.
- On a Mac, open Disk Utility, choose View > Show All Devices, then select the existing volume.
- Click Mount if the button is available.
- Open the volume, copy critical files elsewhere, then reconnect the drive once to confirm the fix holds.
04 Repair the File System After Recovering Files
A cleanup step for a stable drive with backed-up data
~10–60 min
Repair the File System After Recovering Files
A cleanup step for a stable drive with backed-up data
File-system repair may restore access when directory records or volume metadata are damaged. Run it only after securing the files because repair utilities change the disk's structures, sometimes removing records they cannot reconcile.
- Confirm that important files have been recovered or copied to a different physical disk.
- On Windows, open Terminal or Command Prompt as administrator, then run
chkdsk X: /f, replacing X with the external drive's letter. - On a Mac, open Disk Utility, choose View > Show All Devices, then run First Aid from the lowest volume upward through its container plus device.
- Let the repair finish without disconnecting the drive or putting the computer to sleep.
- Reconnect the disk, verify its reported capacity, then open several files from different folders.
05 Send the Drive to a Recovery Lab
Right choice for mechanical failure, missing hardware capacity, or irreplaceable files
Several days
Send the Drive to a Recovery Lab
Right choice for mechanical failure, missing hardware capacity, or irreplaceable files
Software cannot repair damaged heads, seized motors, burned controller boards, or degraded platters. A lab is the cautious route if the physical disk shows 0 MB, disappears repeatedly, or makes abnormal sounds.
- Power the drive off, then stop reconnecting it for more tests.
- Write down what happened before the failure, including drops, power loss, water exposure, unusual noises, or earlier repair attempts.
- Contact two established recovery labs, then ask whether evaluation is free plus whether charges apply if no useful files are recovered.
- Ask how the lab handles privacy, return shipping, replacement parts, plus failed recovery attempts.
- Pack the drive in an antistatic bag with firm padding, then use tracked shipping or local drop-off.
Choose the Safest Fix for a 0-Byte External Drive
Creating an image, then scanning it with Disk Drill is the practical software route when the operating system still sees the disk's correct physical capacity. Start with the cable plus power checks because they are quick, free, plus non-destructive. Use mount repairs only for a healthy recognized partition, save file-system repair until after recovery, then choose a lab whenever hardware failure is possible.
Confirm whether the system sees the drive's real physical size before choosing any repair. That single detail separates many recoverable file-system problems from enclosure or hardware failures.